No edit summary |
(Updated) |
||
| Line 6: | Line 6: | ||
|lvlrange=1 ~ 3 |
|lvlrange=1 ~ 3 |
||
|difficulties={{ENHM}} |
|difficulties={{ENHM}} |
||
| − | |floors= |
+ | |floors=3 |
|map= |
|map= |
||
| − | |description= |
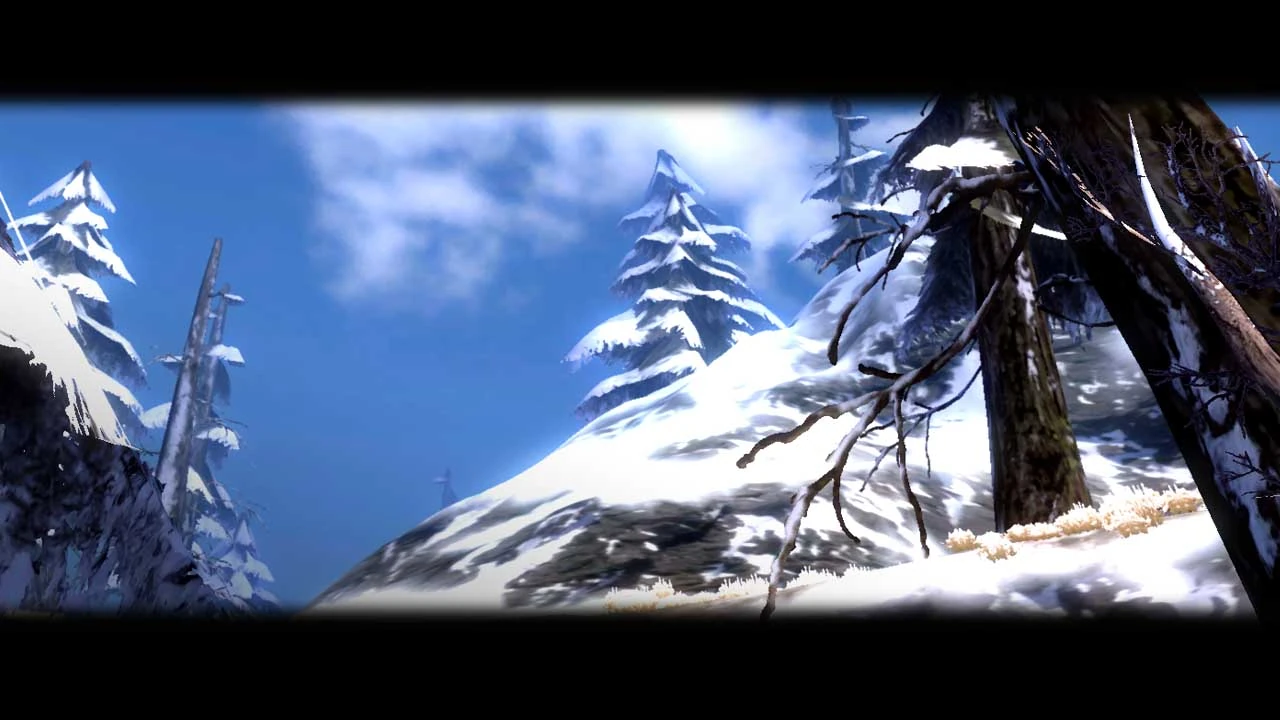
+ | |description=A chilled valley with plenty of ruins. |
|quests= |
|quests= |
||
| Line 76: | Line 76: | ||
|monsterlistrow= |
|monsterlistrow= |
||
{{Monster List Row |
{{Monster List Row |
||
| − | |difficulties= |
+ | |difficulties= Easy, Normal, Hard, Master |
|image= |
|image= |
||
| − | |name= |
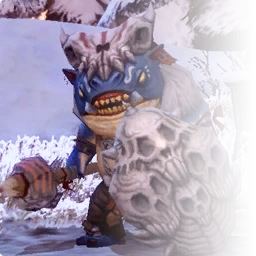
+ | |name= Frost Goblin |
| − | |species= |
+ | |species= Goblin |
|exp= |
|exp= |
||
| − | |roomnumber= |
+ | |roomnumber=1, 2, 3 |
| − | |lvl= |
+ | |lvl= 1-3 |
| + | }} |
||
| + | {{Monster List Row |
||
| + | |difficulties= Easy, Normal, Hard, Master |
||
| + | |image= |
||
| + | |name= Frost Bullpup |
||
| + | |species= Poochum |
||
| + | |exp= |
||
| + | |roomnumber=1, 2, 3 |
||
| + | |lvl= 1-3 |
||
}} |
}} |
||
}} |
}} |
||
| Line 132: | Line 141: | ||
|easyrewardicon5= |
|easyrewardicon5= |
||
|easyrewardicon6= |
|easyrewardicon6= |
||
| − | |easyrewards1= |
+ | |easyrewards1= Weapons/Armor |
| − | |easyrewards2= |
+ | |easyrewards2= Onyx Fragment |
|easyrewards3= |
|easyrewards3= |
||
|easyrewards4= |
|easyrewards4= |
||
| Line 145: | Line 154: | ||
|normrewardicon5= |
|normrewardicon5= |
||
|normrewardicon6= |
|normrewardicon6= |
||
| − | |normrewards1= |
+ | |normrewards1= Weapons/Armor |
| − | |normrewards2= |
+ | |normrewards2= Onyx Fragment |
|normrewards3= |
|normrewards3= |
||
|normrewards4= |
|normrewards4= |
||
| Line 158: | Line 167: | ||
|hardrewardicon5= |
|hardrewardicon5= |
||
|hardrewardicon6= |
|hardrewardicon6= |
||
| − | |hardrewards1= |
+ | |hardrewards1= Weapons/Armor |
| − | |hardrewards2= |
+ | |hardrewards2= Onyx Fragment |
|hardrewards3= |
|hardrewards3= |
||
|hardrewards4= |
|hardrewards4= |
||
| Line 171: | Line 180: | ||
|mastrewardicon5= |
|mastrewardicon5= |
||
|mastrewardicon6= |
|mastrewardicon6= |
||
| − | |mastrewards1= |
+ | |mastrewards1= Weapons/Armor |
| − | |mastrewards2= |
+ | |mastrewards2= Onyx Fragment |
|mastrewards3= |
|mastrewards3= |
||
|mastrewards4= |
|mastrewards4= |
||
| Line 204: | Line 213: | ||
|speed= Average |
|speed= Average |
||
|element= Neutral |
|element= Neutral |
||
| − | |level1= |
+ | |level1= 2 |
| − | |level2= |
+ | |level2= 2 |
| − | |level3= |
+ | |level3= 2 |
| − | |level4= |
+ | |level4= 2 |
| − | |hp1= |
+ | |hp1= ~150 |
| − | |hp2= |
+ | |hp2= ~300 |
| − | |hp3= |
+ | |hp3= ~500 |
| − | |hp4= |
+ | |hp4= ~900 |
| − | |aspawned1= |
+ | |aspawned1= 1 |
| − | |aspawned2= |
+ | |aspawned2= 1 |
| − | |aspawned3= |
+ | |aspawned3= 1 |
| − | |aspawned4= |
+ | |aspawned4= 1 |
| − | |tips= |
+ | |tips= |
| + | He spawns with Five(Easy, Normal and Hard) or Eight(Master) Frost Goblins |
||
| + | *Only swings once at a time |
||
| + | *Has an AoE heal |
||
}} |
}} |
||
}} |
}} |
||
Revision as of 01:48, 18 October 2011
| This article is a stub. You can help Dragon Nest Wiki by expanding it. |
| This article is incomplete and may require expansion and/or cleanup.
Please improve the article or discuss the issue on the talk page. |
 | |
|---|---|
| Dungeon Name | Icewind Valley |
| Location | Frost Hill |
| Level Range | 1 ~ 3 |
| Difficulties Available | Easy, Normal, Hard, Master |
| Number of Rooms | 3 |
A chilled valley with plenty of ruins.
Dungeon Summary
|
• Easy • | |||||||||||||||||||||
|---|---|---|---|---|---|---|---|---|---|---|---|---|---|---|---|---|---|---|---|---|---|
| Recommended Level | 1 | ||||||||||||||||||||
| Recommended Party Size | 1 | ||||||||||||||||||||
| EXP Gained | |||||||||||||||||||||
| Money Reward | 0 | ||||||||||||||||||||
| |||||||||||||||||||||
 | |||||||||||||||
| Boss Name: | Gravel Gurrbakk | ||||||||||||||
|---|---|---|---|---|---|---|---|---|---|---|---|---|---|---|---|
| Level | 2 | HP | ~150 | ||||||||||||
| Species | Orc | Movement Speed | Average | ||||||||||||
| Amount Spawned | 1 | Element | |||||||||||||
| |||||||||||||||
Monster Spawns
| Monster Spawns | ||||||
|---|---|---|---|---|---|---|
| Difficulties Found | Image | Name | Species | Room/Wave # Found | Level | |
| Easy, Normal, Hard, Master |  |
Frost Goblin | Goblin | 1, 2, 3 | 1-3 | |
| Easy, Normal, Hard, Master |  |
Frost Bullpup | Poochum | 1, 2, 3 | 1-3 | |
Quests
Story Quests | |||
|---|---|---|---|
| Obtained From | Objective | Reward | |
Side Quests | |||
|---|---|---|---|
| Obtained From | Objective | Reward | |
Commission Board Quests | |||
|---|---|---|---|
| Obtained From | Objective | Reward | |
Empowerment Consumption (Total)
| Empowerment Cost | |||||
| # of People in the Party | Easy | Normal | Hard | Master | Abyss |
| 1 | N/A | ||||
| 2 | N/A | ||||
| 3 | N/A | ||||
| 4 | N/A | ||||
Dungeon Map